

Image Map
Use Image Map when you want to place clickable points on top of an image and connect each point to related content. This is useful when the experience is easier to understand visually. Instead of showing a plain list, you can let people tap directly on the right part of the image.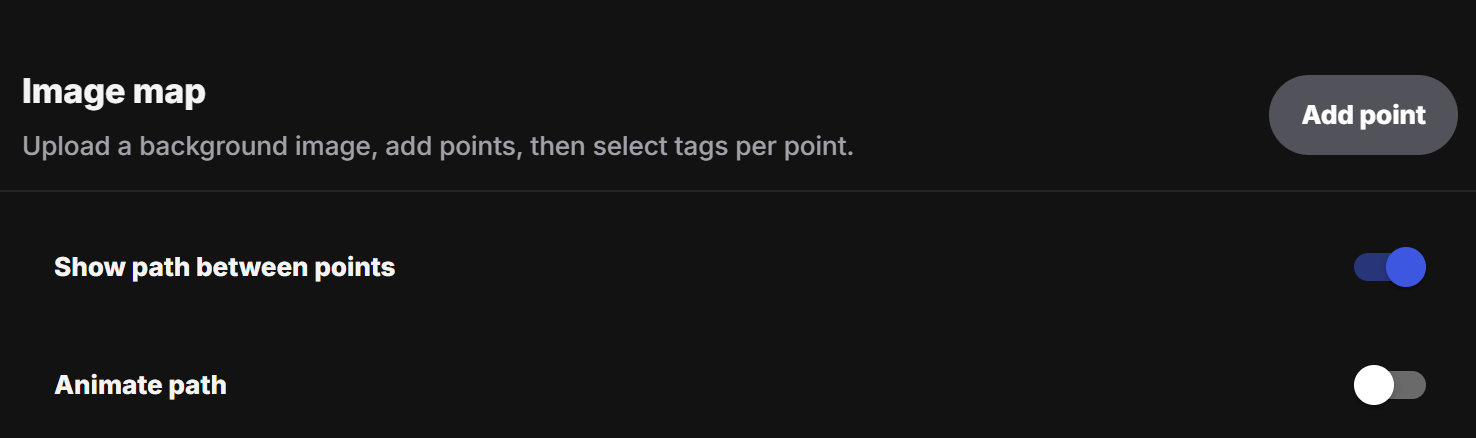
Path options for map-style experiences
At the top of this modal, the designer can also turn on two optional path settings:- Show path between points
- Animate path
Show path between points
Turn this on when you want PeekTag to draw a visible path between the points. This is especially useful for:- walking routes
- store or showroom tours
- museum or exhibition flows
- restaurant, hotel, or venue guidance
- any experience where users should move from one point to the next
Animate path
Turn this on when you want the route line to feel more alive and easier to follow. Animation is helpful when you want to make the direction clearer, especially if:- the route has multiple stops
- the image is busy and the path needs more visibility
- you want users to notice the recommended order
- the experience is meant to guide people step by step
- Show path between points draws the route
- Animate path makes that route feel active and easier to notice
Start with a background image
The first step is choosing the image you want to map. That image can be many different things, for example:- a cropped map of a place or area
- a living room with multiple products inside it
- a restaurant floor or table layout
- a shelf, display, wall, or showroom scene
- a product image where different parts need their own points
Add points on the image
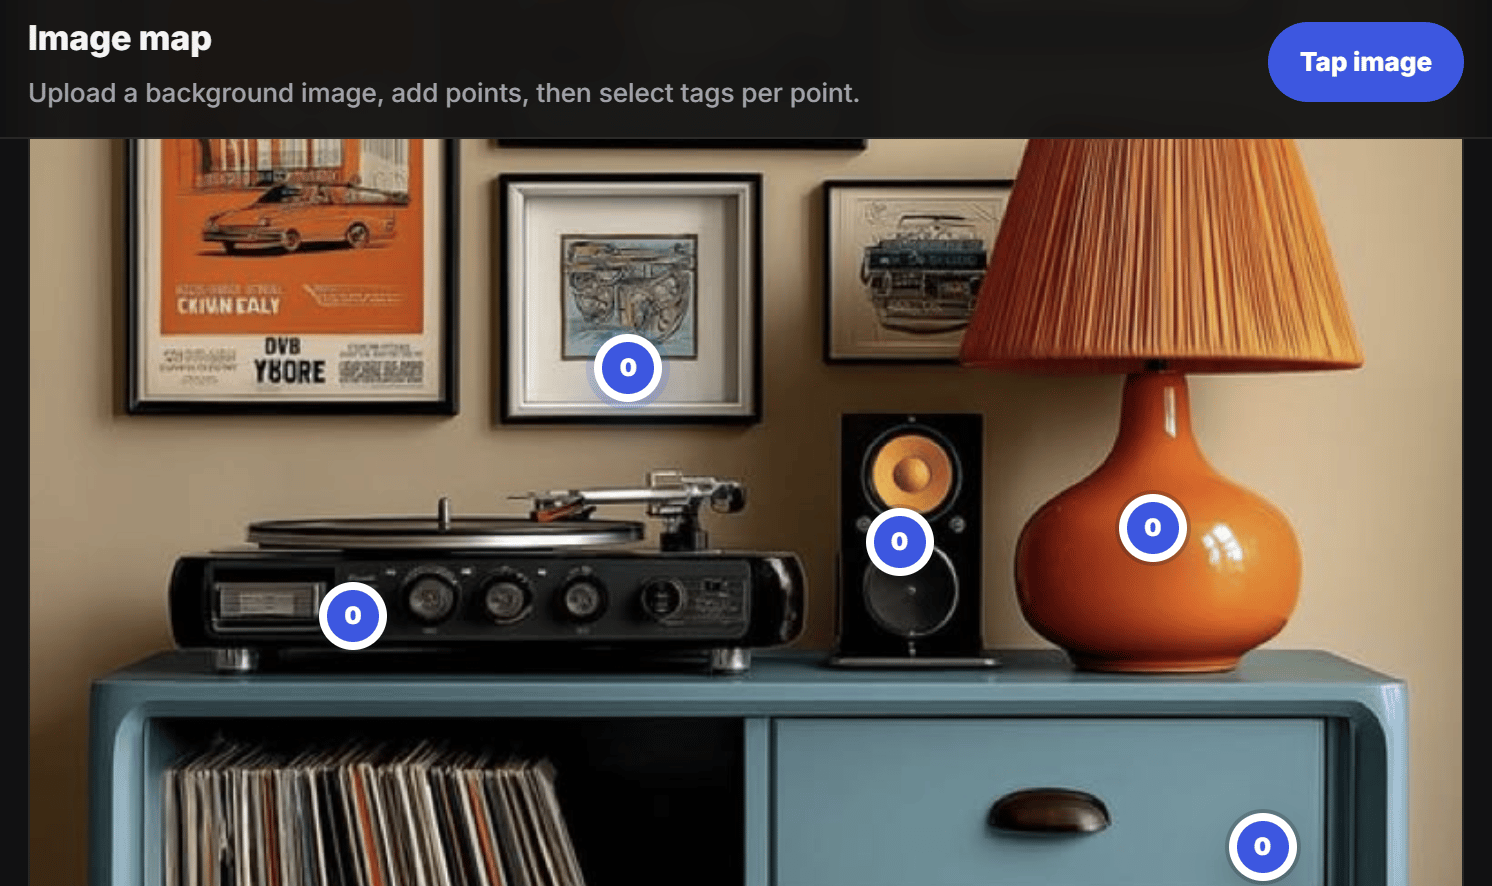
Each point acts like a clickable hotspot. When the designer taps the image and adds a point, that point becomes a place where one or more related items can be attached. For example:- on a room image, one point can be the lamp
- on a shelf image, one point can be a specific product
- on a map image, one point can be a stop, area, or place
- on a fashion image, one point can be a bag, shoes, or accessory
Manage the point list
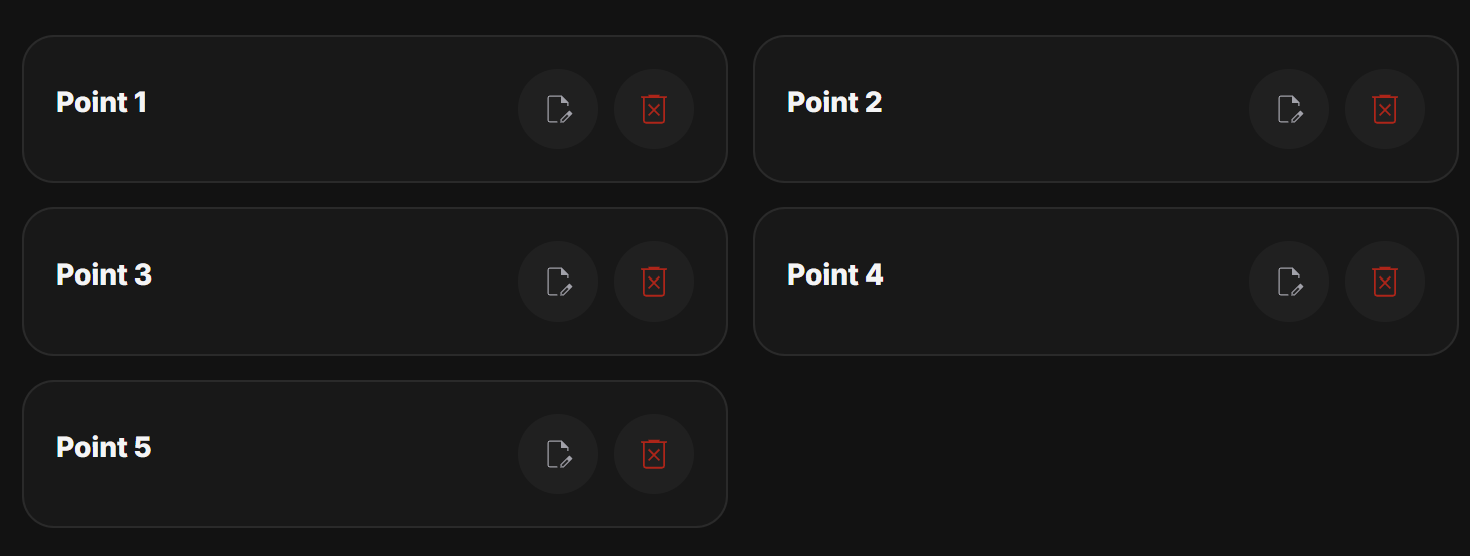
On the main modal page, the designer can see the full list of created points. From this list, the designer can:- review all points in one place
- open any point and edit it
- rename the point so it is easier to manage
- remove points that are no longer needed
Add content to each point
When the designer opens a point, there are two main ways to attach content:- Tags
- Objects

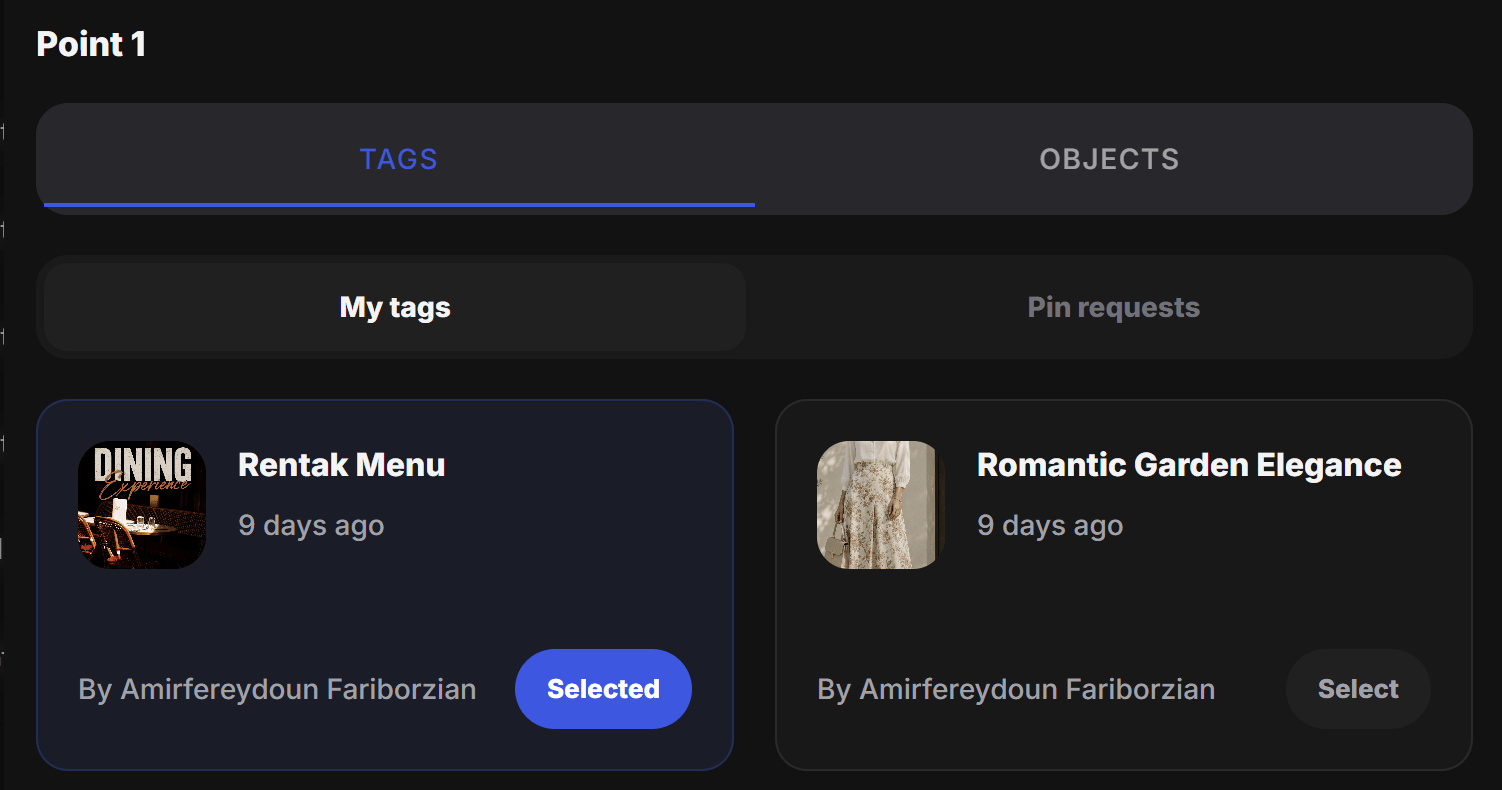
Tags tab
Inside the Tags tab, the designer can choose existing tags for that point. There are two common sources:- My tags: tags that belong to the tag owner
- Pin requests: tags from other people that have requested to be pinned
- one hotspot in a room should open a product tag for the sofa
- one hotspot on a city map should open a local business tag
- one hotspot on a restaurant plan should open a menu or experience tag
Objects tab
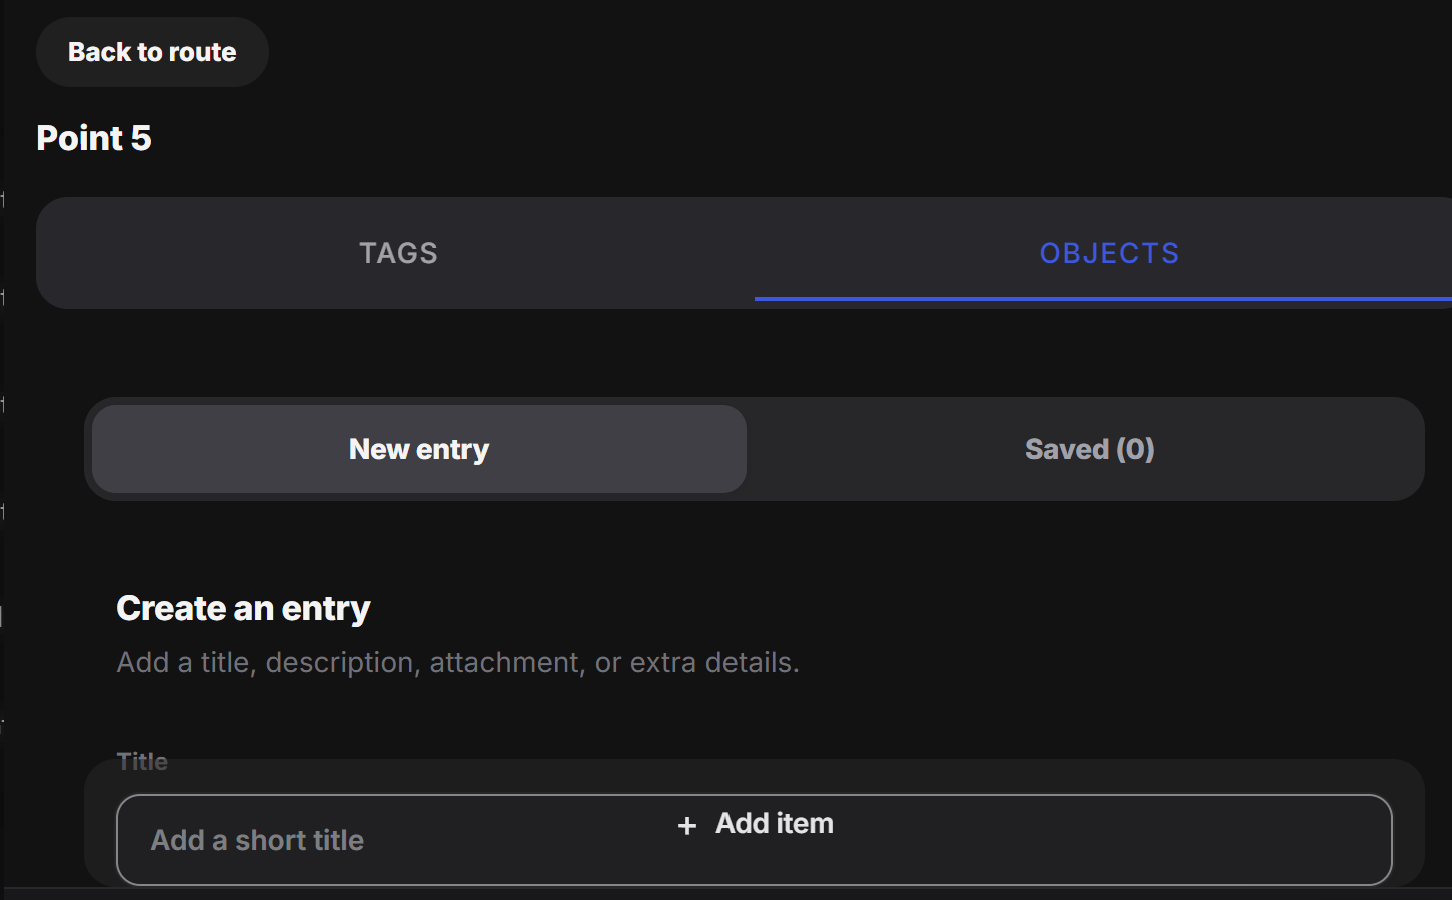
Sometimes the designer does not want to use an existing tag. In that case, they can switch to the Objects tab and add brand-new items that did not exist before. This is helpful when the designer wants to build custom point content directly inside the image map. For example, they may want to:- create a new object for a piece of furniture in a room
- add a custom item for a product detail that has not been published as a tag yet
- create a one-off point item for a special scene, display, or feature
Good use cases for Image Map
Image Map works especially well when people need to explore a scene visually. Common examples include:- a room where each point opens a product or decor item
- a store shelf where each point explains one product
- a cropped map where each point opens a place or stop
- a booth, gallery, or exhibition scene with clickable sections
- a layout image where each point connects to a service, item, or story