> ## Documentation Index
> Fetch the complete documentation index at: https://docs.peektag.com/llms.txt
> Use this file to discover all available pages before exploring further.
# Conversation Flow
> Configure the steps users move through when they chat with the experience agent.
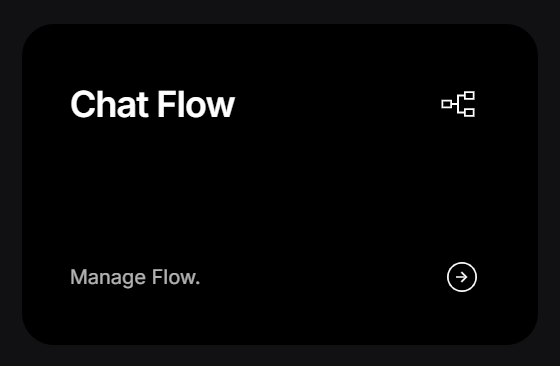 Conversation Flow is where the designer controls the path of the chat.
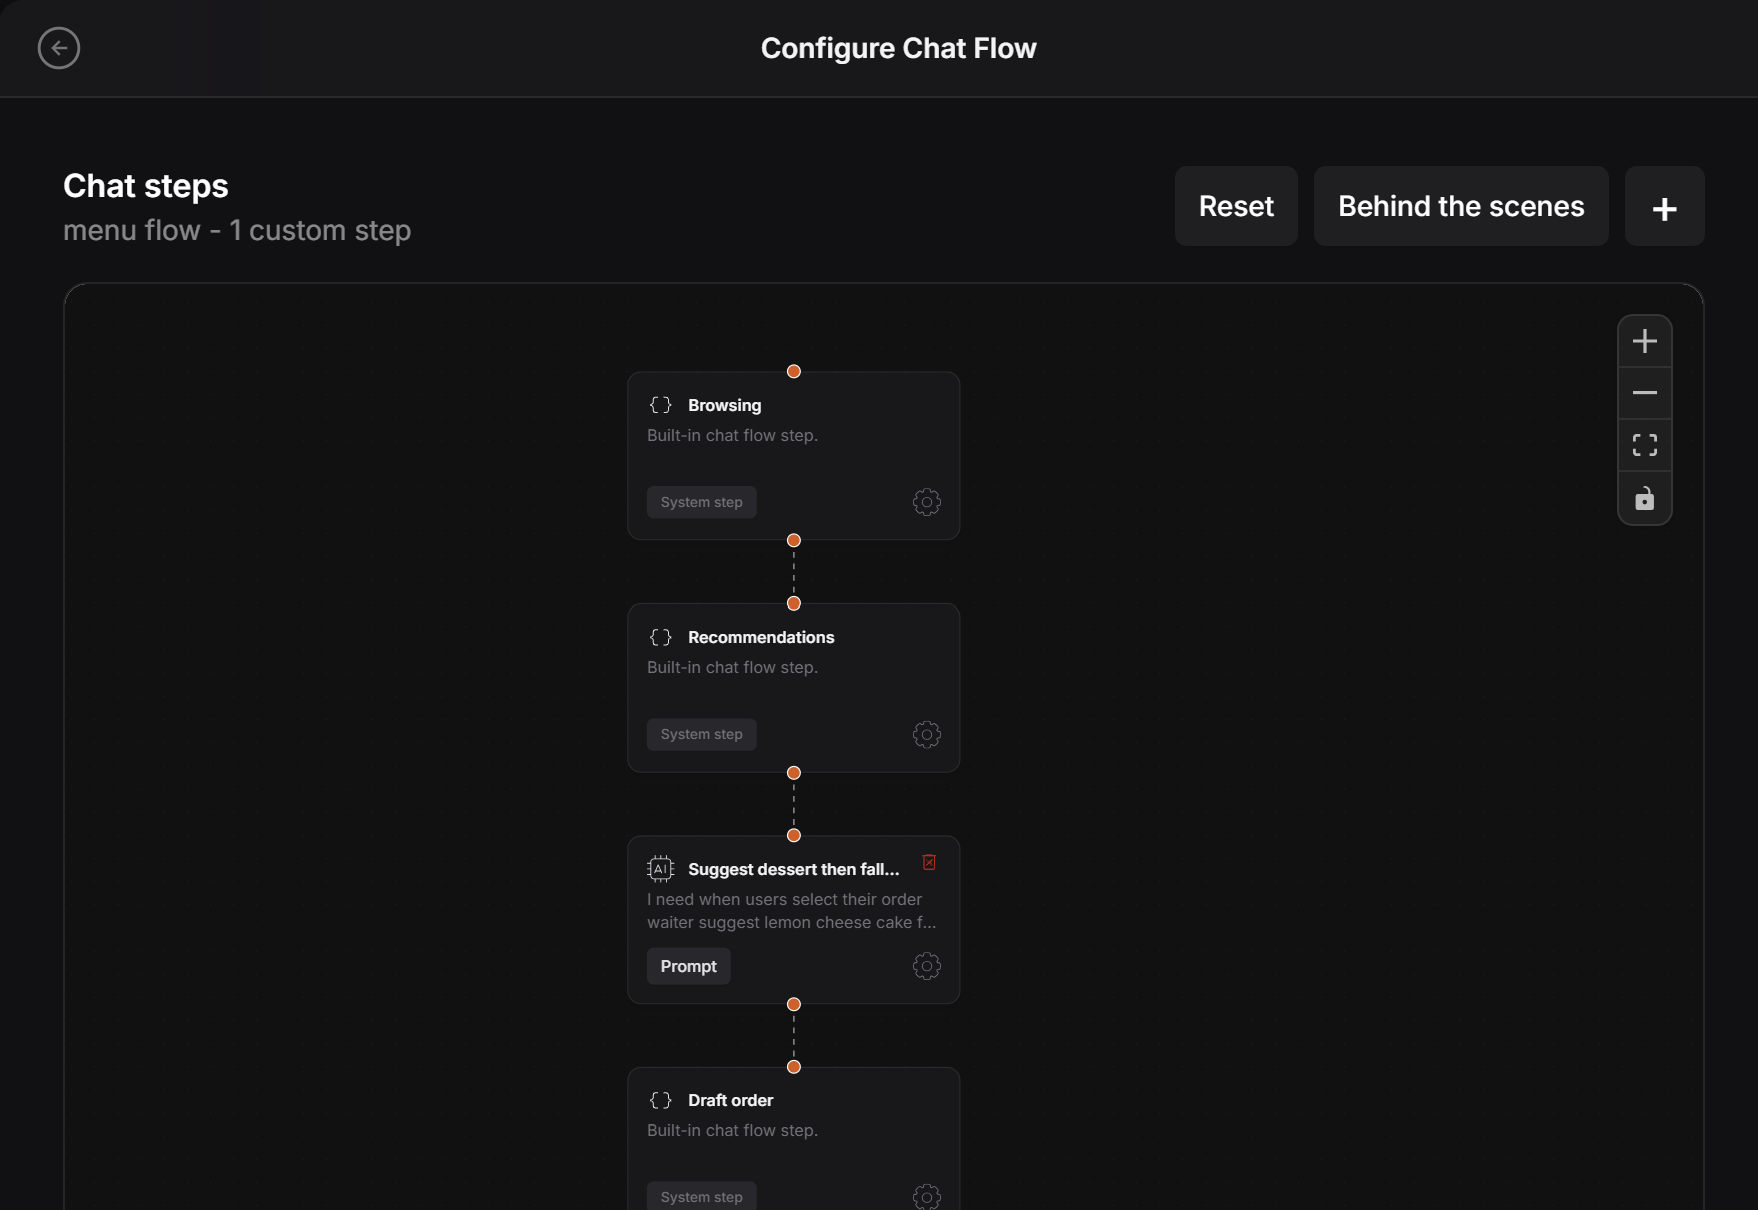
The flow already has some default steps, but the designer can add a custom step between those steps when the agent needs to do something specific.
## Add a custom step
Click the **plus** button to add a new chat step.
Conversation Flow is where the designer controls the path of the chat.
The flow already has some default steps, but the designer can add a custom step between those steps when the agent needs to do something specific.
## Add a custom step
Click the **plus** button to add a new chat step.
 Use this when you want the agent to follow a special rule during the conversation.
For example, in a restaurant experience, the designer can tell the agent:
```text theme={null}
When users select their order, suggest lemon cheesecake for dessert. If they do not accept it, suggest another new sweet appetizer called Blue Cherry with Mango.
```
This means the agent can guide the customer in a more helpful way instead of only answering general questions.
## Use the plus button
The **plus** button opens the form for creating a new step.
Use this when you want the agent to follow a special rule during the conversation.
For example, in a restaurant experience, the designer can tell the agent:
```text theme={null}
When users select their order, suggest lemon cheesecake for dessert. If they do not accept it, suggest another new sweet appetizer called Blue Cherry with Mango.
```
This means the agent can guide the customer in a more helpful way instead of only answering general questions.
## Use the plus button
The **plus** button opens the form for creating a new step.
 A custom step can be placed between the existing flow steps. For example, it can sit between **Recommendations** and **Draft order** if the agent should suggest something before the order is finalized.
## Write what the agent should do
In the step box, write the instruction in normal language. The designer does not need to write code.
A custom step can be placed between the existing flow steps. For example, it can sit between **Recommendations** and **Draft order** if the agent should suggest something before the order is finalized.
## Write what the agent should do
In the step box, write the instruction in normal language. The designer does not need to write code.
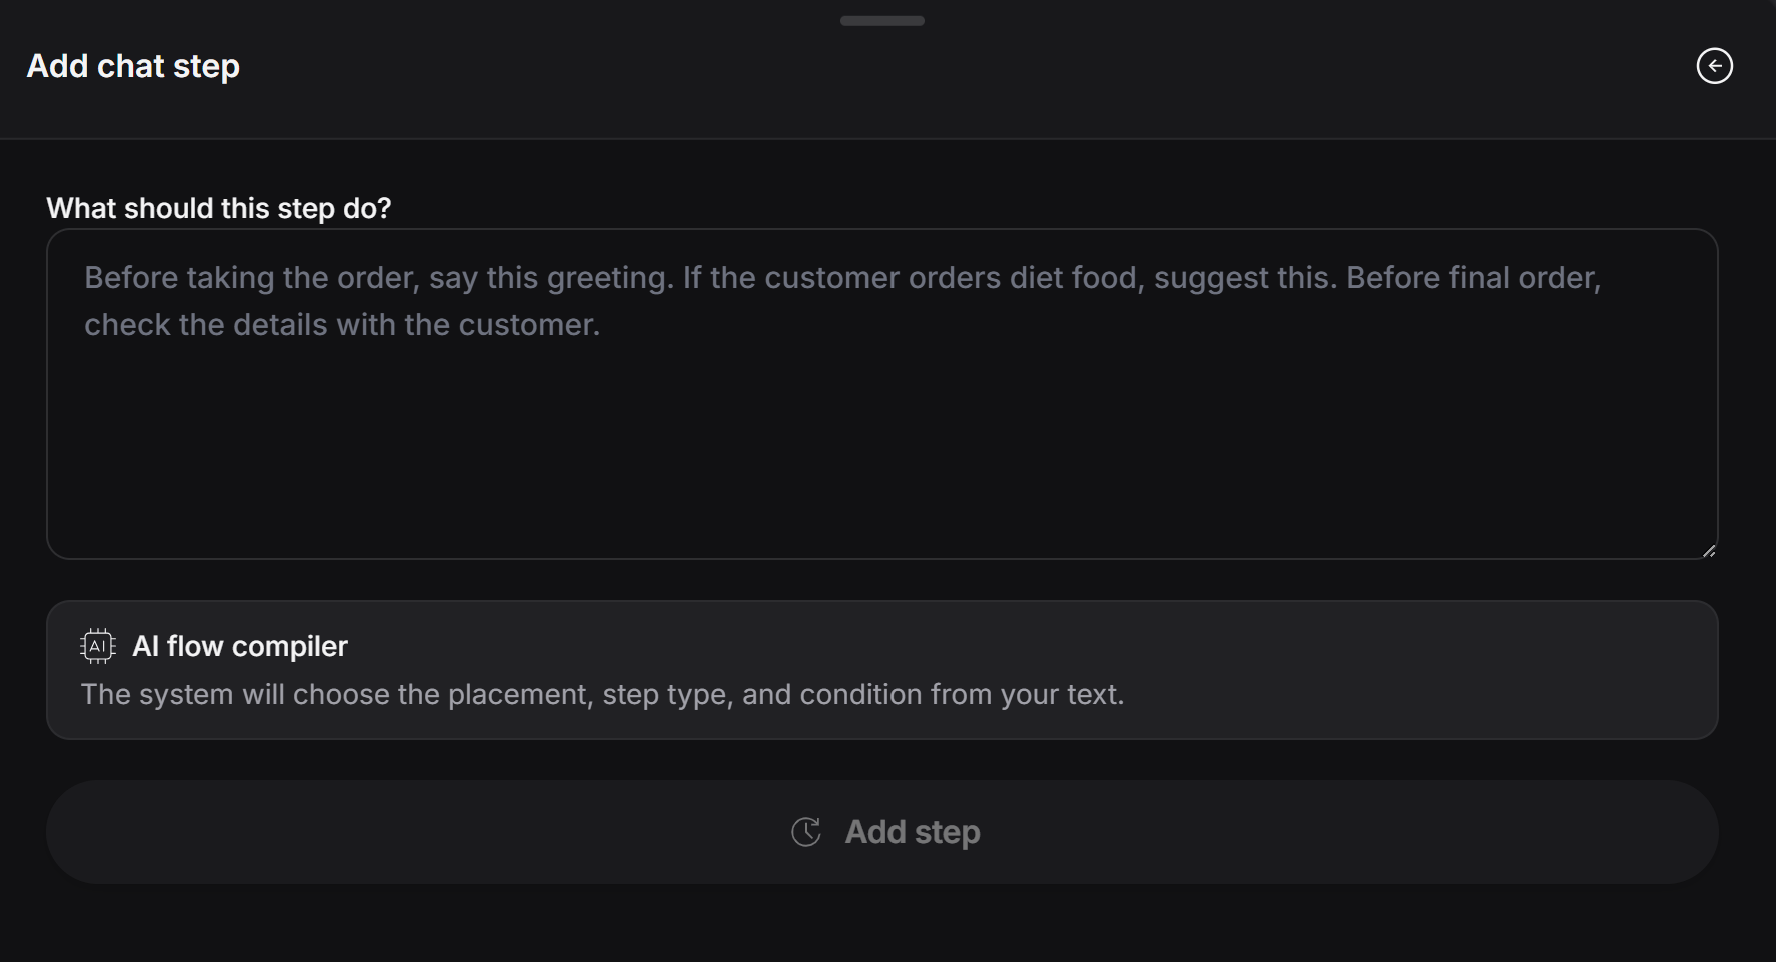 PeekTag uses the instruction to decide:
* Where the step should fit in the flow
* What type of step it should be
* What condition should trigger it
* What the agent should say or suggest
## Example
A good custom step can be simple and direct:
```text theme={null}
After the customer chooses food, suggest lemon cheesecake as dessert. If the customer says no, suggest Blue Cherry with Mango as a new sweet appetizer.
```
Keep each custom step focused on one job. If you need the agent to do several different things, create separate steps so the flow stays easy to manage.
PeekTag uses the instruction to decide:
* Where the step should fit in the flow
* What type of step it should be
* What condition should trigger it
* What the agent should say or suggest
## Example
A good custom step can be simple and direct:
```text theme={null}
After the customer chooses food, suggest lemon cheesecake as dessert. If the customer says no, suggest Blue Cherry with Mango as a new sweet appetizer.
```
Keep each custom step focused on one job. If you need the agent to do several different things, create separate steps so the flow stays easy to manage.