> ## Documentation Index
> Fetch the complete documentation index at: https://docs.peektag.com/llms.txt
> Use this file to discover all available pages before exploring further.
# Outfit Builder
> Organize outfit pieces, alternatives, and product combinations for fashion experiences.
Outfit Builder is a fashion-focused editing form for building a complete look.
It helps the designer organize an outfit into sections, add products into each part, upload a main cover image or model image, and preview the full result in one place.
 ## Add items from the left side
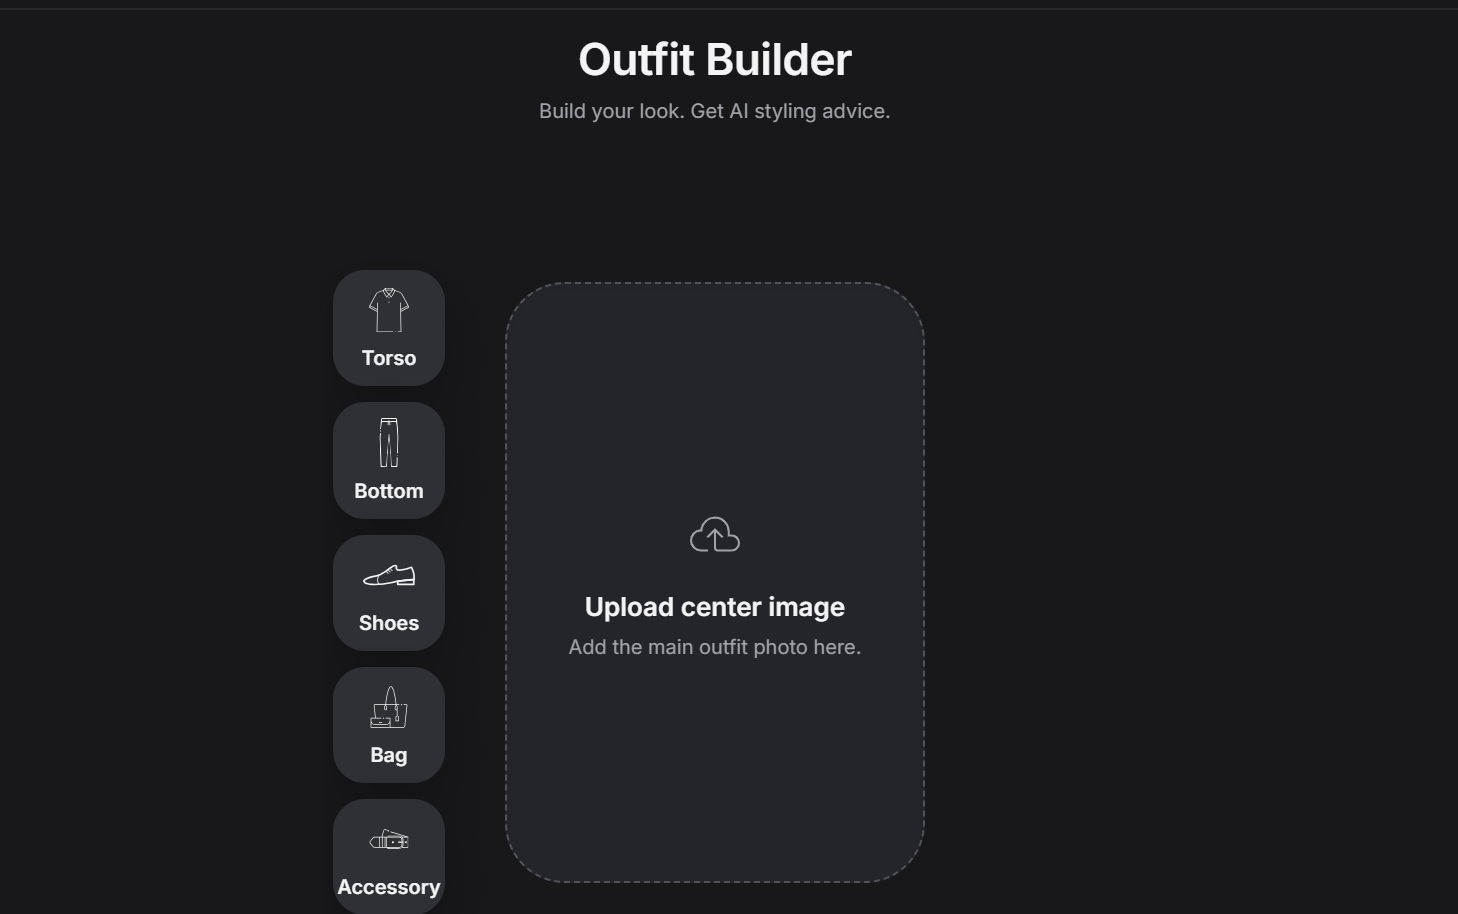
When the designer clicks any category button on the left side, an object form opens for that part.
That means each outfit section uses the same kind of structured entry explained in [Objects](/editing/manual-editing/objects).
So if the designer clicks a section, they can open the object form and enter the product information for the item they want to add.
## Current outfit sections
Right now, each outfit has five sections:
* Upper body
* Lower body
* Shoes
* Accessory
* Bag
Each one is a collection.
This means the designer can add as many items as they want inside each section, not only one item.
For example, a designer can add several tops to Upper body, several shoes to Shoes, or multiple accessories to the Accessory section.
## Center image
The designer can click the center image area to upload a cover image or a mannequin image.
## Add items from the left side
When the designer clicks any category button on the left side, an object form opens for that part.
That means each outfit section uses the same kind of structured entry explained in [Objects](/editing/manual-editing/objects).
So if the designer clicks a section, they can open the object form and enter the product information for the item they want to add.
## Current outfit sections
Right now, each outfit has five sections:
* Upper body
* Lower body
* Shoes
* Accessory
* Bag
Each one is a collection.
This means the designer can add as many items as they want inside each section, not only one item.
For example, a designer can add several tops to Upper body, several shoes to Shoes, or multiple accessories to the Accessory section.
## Center image
The designer can click the center image area to upload a cover image or a mannequin image.
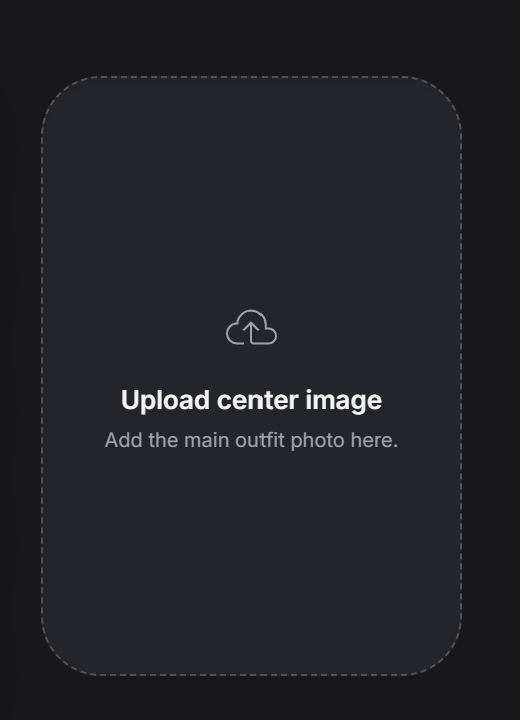 This image becomes the main visual for the outfit.
It can be:
* A cover image for the look
* A mannequin image
* A model photo
* The main reference image for the whole outfit
When an image is uploaded, it appears in the center area.
## Preview at the bottom
At the bottom, the designer can see a preview of all items currently added to the outfit.
This image becomes the main visual for the outfit.
It can be:
* A cover image for the look
* A mannequin image
* A model photo
* The main reference image for the whole outfit
When an image is uploaded, it appears in the center area.
## Preview at the bottom
At the bottom, the designer can see a preview of all items currently added to the outfit.
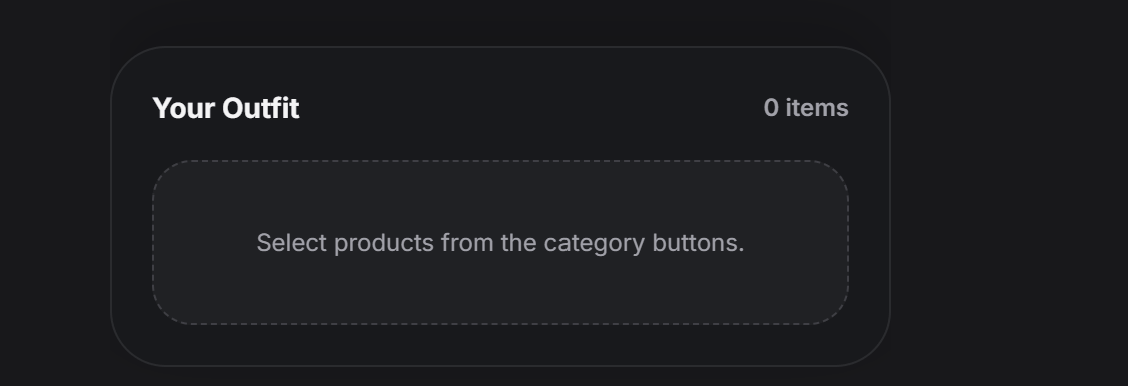 This helps the designer quickly understand what is already inside the outfit.
If no items have been added yet, the preview area stays empty and tells the designer to start selecting products.
## Full sample
A completed outfit can look like this:
This helps the designer quickly understand what is already inside the outfit.
If no items have been added yet, the preview area stays empty and tells the designer to start selecting products.
## Full sample
A completed outfit can look like this:
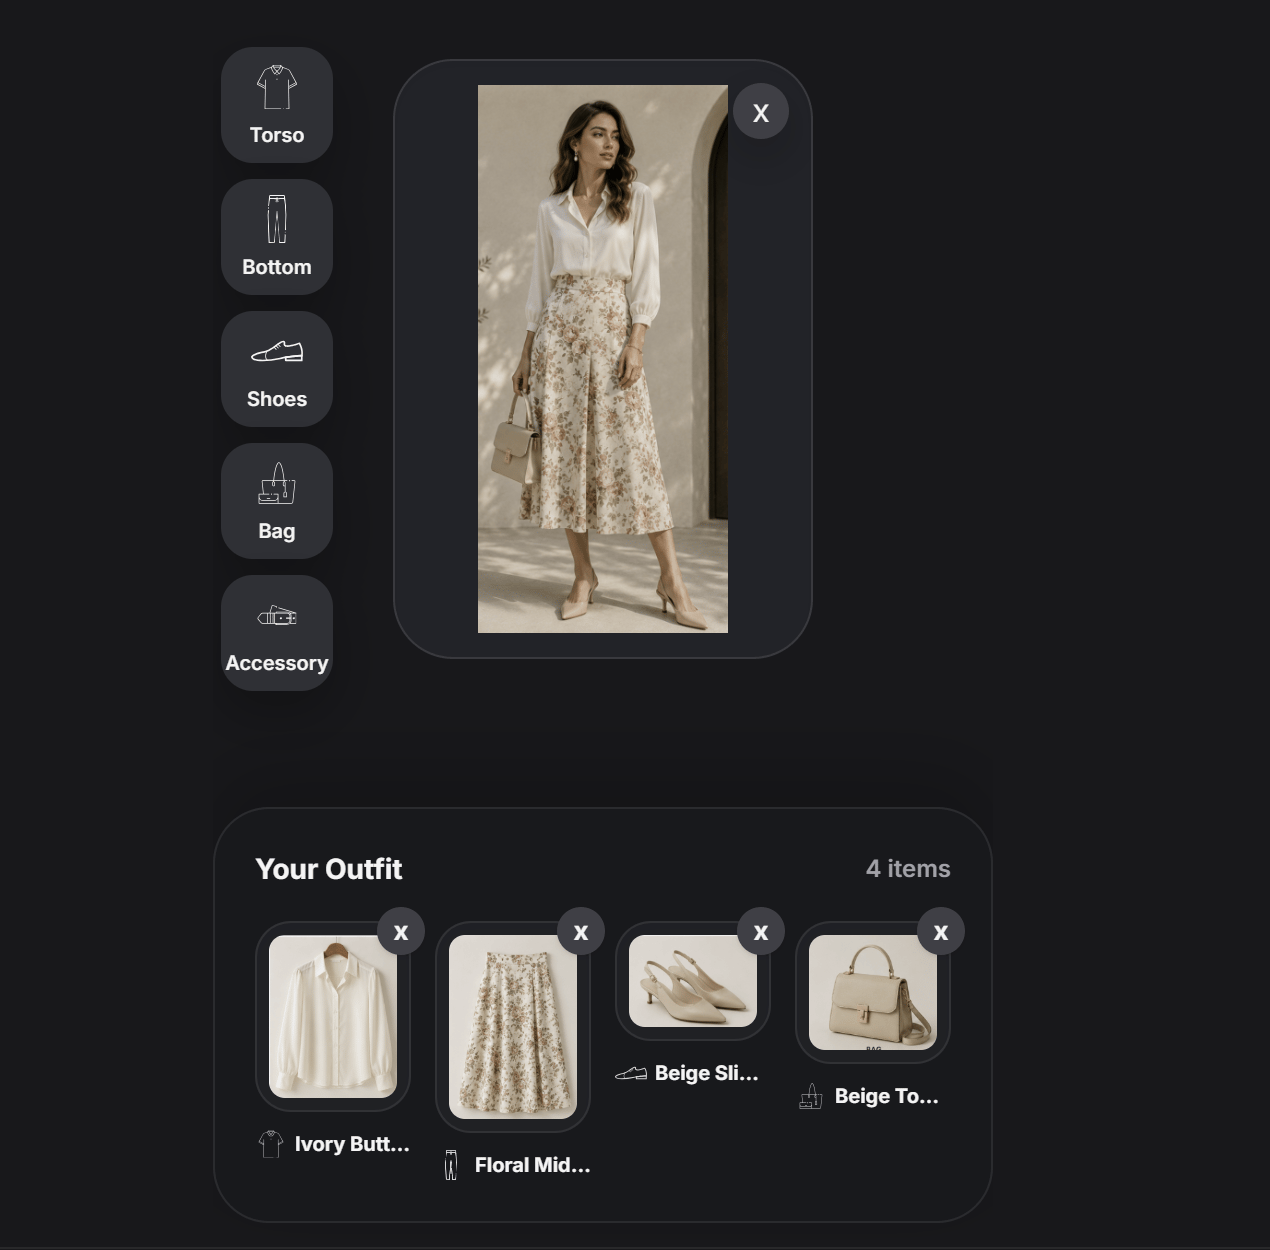 In this sample, the designer has:
* Uploaded a main outfit image in the center
* Added products into several outfit sections
* Built a complete look from separate items
* Used the preview area to review everything together
Outfit Builder is best when the designer wants to build a full look as a system, not just enter one product at a time. It combines structured product entry with a visual outfit preview.
In this sample, the designer has:
* Uploaded a main outfit image in the center
* Added products into several outfit sections
* Built a complete look from separate items
* Used the preview area to review everything together
Outfit Builder is best when the designer wants to build a full look as a system, not just enter one product at a time. It combines structured product entry with a visual outfit preview.