> ## Documentation Index
> Fetch the complete documentation index at: https://docs.peektag.com/llms.txt
> Use this file to discover all available pages before exploring further.
# Create Cover and Poster
> Create Cover and Poster is where the designer prepares a visual poster for the tag.
 This is useful when the tag needs to be shown to customers in a real place, shared with a client, printed for a restaurant table, added to a campaign, or used as a QR-ready promotional image.
## Create a poster with a prompt
The designer can describe what kind of poster they want. The text should match the business and the style of the experience.
For example, for a restaurant, the designer can ask for a poster that feels premium, modern, cozy, seasonal, casual, luxury, or family-friendly.
This is useful when the tag needs to be shown to customers in a real place, shared with a client, printed for a restaurant table, added to a campaign, or used as a QR-ready promotional image.
## Create a poster with a prompt
The designer can describe what kind of poster they want. The text should match the business and the style of the experience.
For example, for a restaurant, the designer can ask for a poster that feels premium, modern, cozy, seasonal, casual, luxury, or family-friendly.
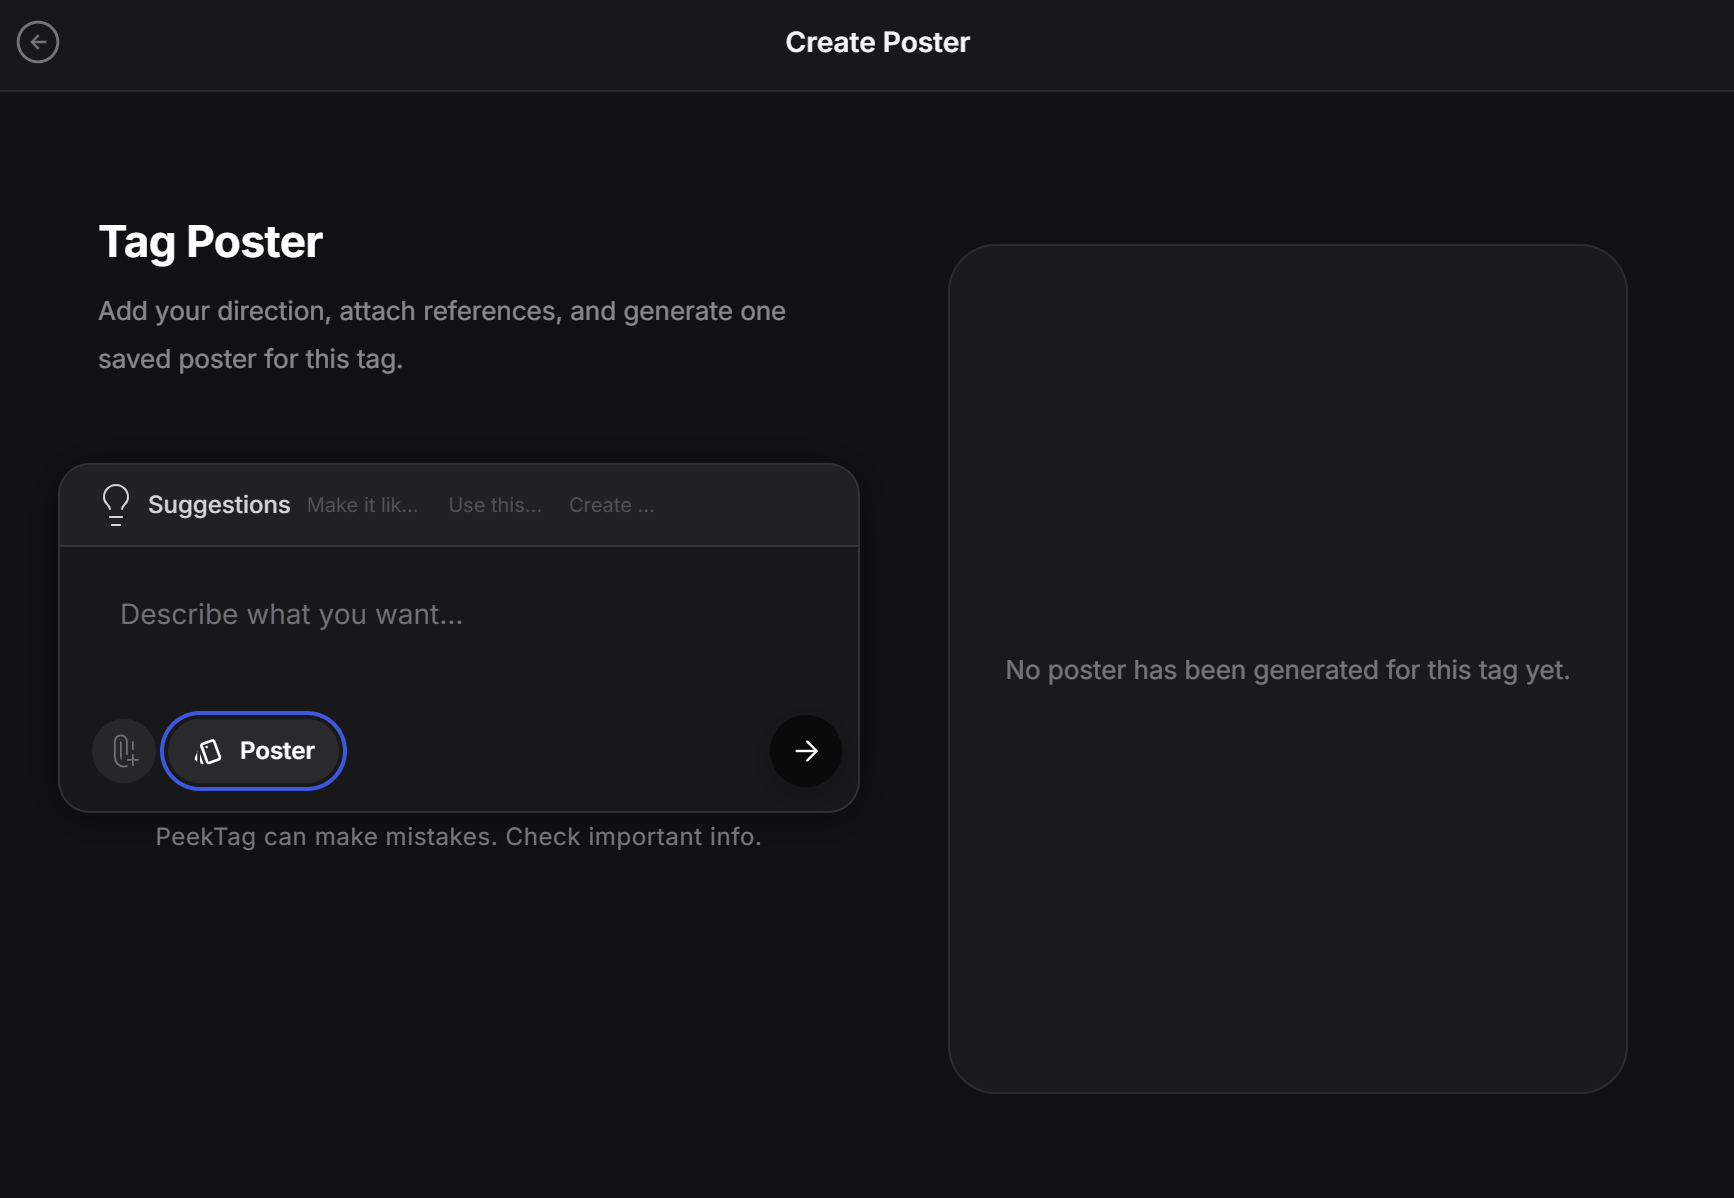 A simple restaurant prompt can be:
```text theme={null}
Create an elegant restaurant poster for a fine dining seafood menu. Use a dark luxury background, oyster and caviar details, warm gold typography, and a premium evening mood.
```
The designer can also attach references if they want the poster to follow a specific visual style.
The prompt does not need to be technical. Write what the poster should feel like, what it should show, and what kind of customer it should attract.
## Use the Poster pill
Click the **Poster** pill to open poster options.
In this panel, the designer can decide whether the generated poster should include brand details.
A simple restaurant prompt can be:
```text theme={null}
Create an elegant restaurant poster for a fine dining seafood menu. Use a dark luxury background, oyster and caviar details, warm gold typography, and a premium evening mood.
```
The designer can also attach references if they want the poster to follow a specific visual style.
The prompt does not need to be technical. Write what the poster should feel like, what it should show, and what kind of customer it should attract.
## Use the Poster pill
Click the **Poster** pill to open poster options.
In this panel, the designer can decide whether the generated poster should include brand details.
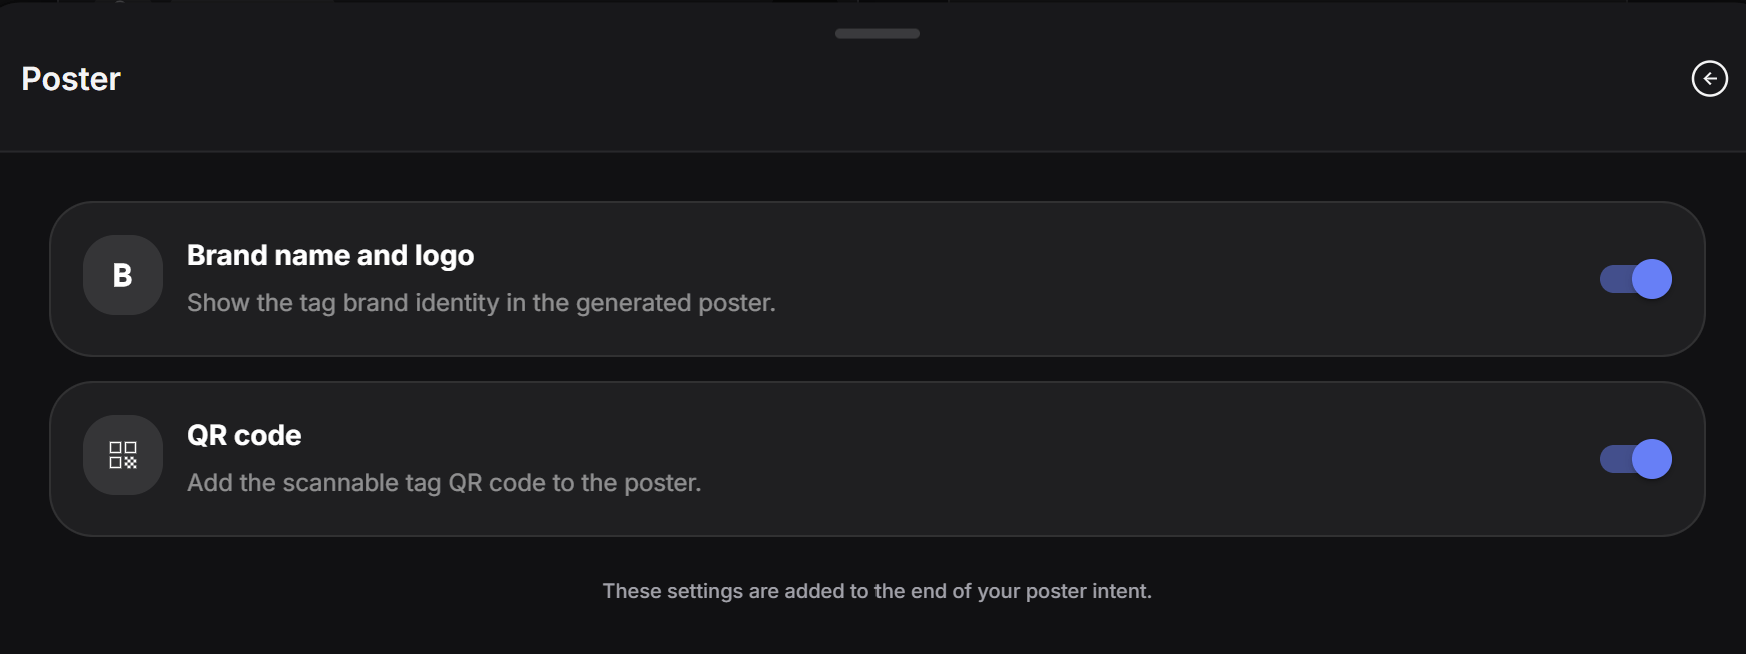 There are two important options:
* **Brand name and logo:** adds the tag brand identity to the generated poster.
* **QR code:** adds a scannable QR code that opens the main tag page.
Use **Brand name and logo** when the poster should clearly belong to the restaurant, store, venue, or client brand.
Use **QR code** when the poster will be printed, displayed on a table, placed near a product, shown at an event, or sent to customers so they can open the tag quickly.
## Review the final poster
After generation, the final poster appears on the right side of the screen.
There are two important options:
* **Brand name and logo:** adds the tag brand identity to the generated poster.
* **QR code:** adds a scannable QR code that opens the main tag page.
Use **Brand name and logo** when the poster should clearly belong to the restaurant, store, venue, or client brand.
Use **QR code** when the poster will be printed, displayed on a table, placed near a product, shown at an event, or sent to customers so they can open the tag quickly.
## Review the final poster
After generation, the final poster appears on the right side of the screen.
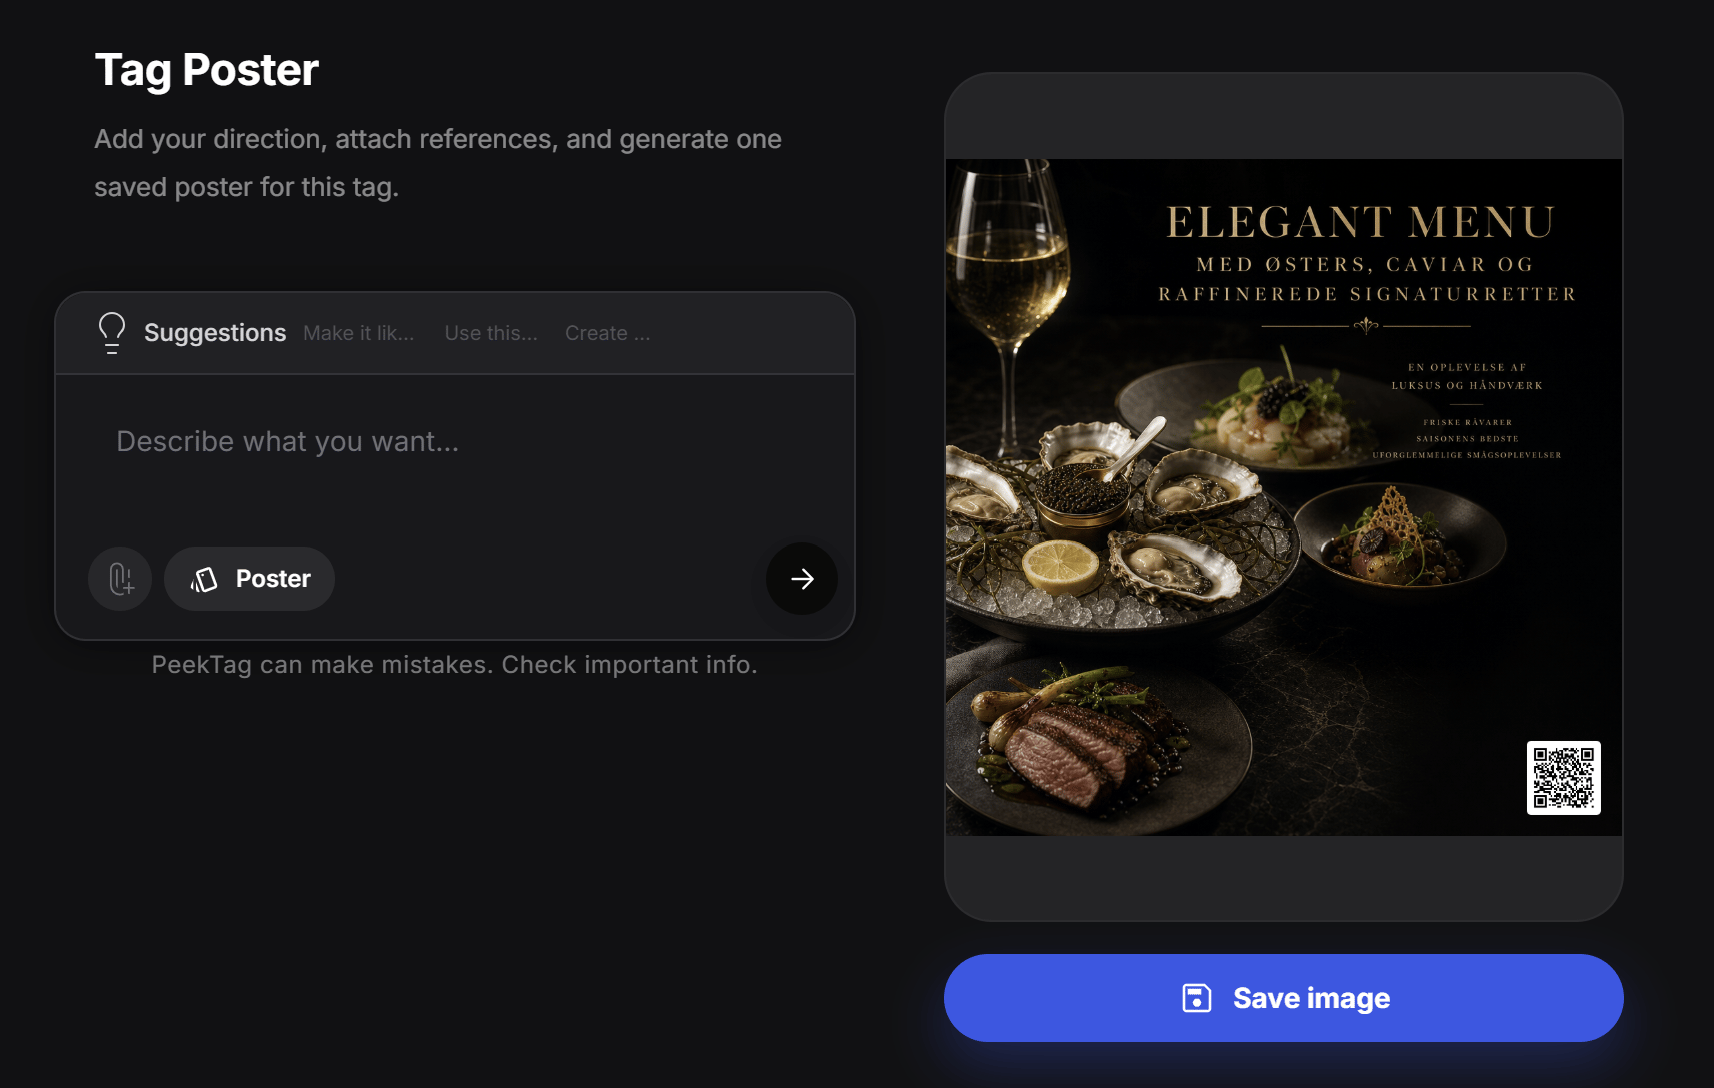 The designer should check:
* The image matches the brand style
* The text is readable
* The poster looks good on mobile and desktop
* The QR code is visible
* The poster does not include wrong or unwanted details
When the poster looks right, click **Save image** to save it for the tag.
Always review generated poster text and important details before sending it to a client or printing it. AI-generated visuals can look polished but still include mistakes.
The designer should check:
* The image matches the brand style
* The text is readable
* The poster looks good on mobile and desktop
* The QR code is visible
* The poster does not include wrong or unwanted details
When the poster looks right, click **Save image** to save it for the tag.
Always review generated poster text and important details before sending it to a client or printing it. AI-generated visuals can look polished but still include mistakes.